
Table of Contents
lorax cookie recipe: A Fun and Delicious Way to Celebrate Dr. Seuss’s Beloved Story
A Sweet Way to Celebrate Dr. Seuss’s Lorax
Imagine this: you’re baking in the kitchen, and the smell of fresh cookies fills the air. As the cookies cool, you start decorating them with vibrant orange icing, yellow mustaches, and black detailing. In no time, you’ve created your own edible version of the beloved Lorax, complete with his signature whiskers and bold personality.
These Lorax cookies are a perfect way to celebrate Dr. Seuss’s powerful story while having fun in the kitchen. Whether it’s for a Dr. Seuss-themed party, Earth Day, or simply an afternoon of creative baking, these cookies bring joy and whimsy to any occasion.
why you’ll love making these cookies?
- Fun and Creative: A hands-on way to get the whole family involved, with an opportunity for everyone to decorate their own Lorax cookie.
- Meaningful Theme: Inspired by the eco-friendly message of The Lorax, these cookies open up a chance to talk about environmental conservation with kids.
- Perfect for Any Event: Ideal for themed parties, Earth Day, or just a unique baking project.
Ready to bake up some creativity? Let’s explore how to make these fun, Lorax-inspired cookies right in your own kitchen!
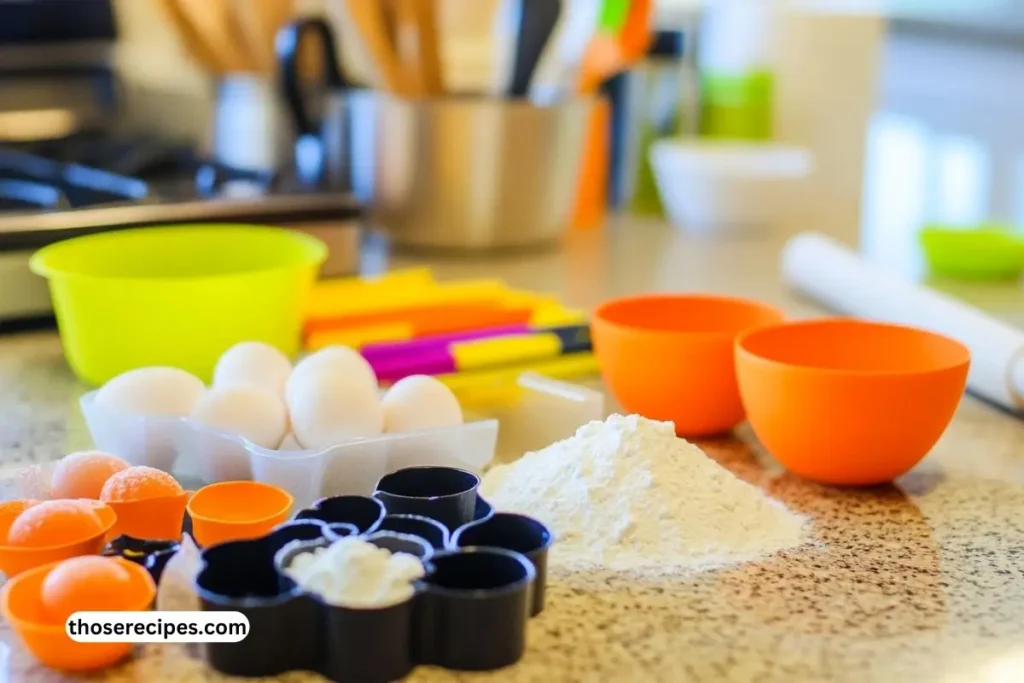
Ingredients and Tools Needed
Ingredients
To make the perfect lorax cookie recipe, you’ll need a carefully curated list of ingredients that ensures the cookies not only taste delicious but also look vibrant and whimsical. Below is a detailed breakdown of the essential components, presented in an easy-to-read table for your convenience:
| Ingredient | Quantity | Notes |
| All-purpose flour | 3 cups | Sifted for a smoother dough. |
| Unsalted butter | 1 cup | Softened to room temperature. |
| Granulated sugar | 1 cup | Adds sweetness and structure. |
| Vanilla extract | 1 teaspoon | For a hint of flavor. |
| Eggs | 2 large | Room temperature for better mixing. |
| Orange food coloring | As needed | For the Lorax’s bright orange body. |
| Yellow food coloring | As needed | To create his signature mustache. |
| Black food coloring | As needed | For detailing eyes and eyebrows. |
| Royal icing ingredients | See below | Used for decorating the cookies. |
For the royal icing:
- Powdered sugar: 4 cups
- Meringue powder: 3 tablespoons
- Water: 6 tablespoons (adjust as needed for consistency)
- Gel food coloring: In shades of orange, yellow, and black.
Tools
Having the right tools is crucial for achieving professional-looking lorax cookie recipe. Below is a list of tools to make your baking and decorating process seamless:
- Cookie Cutters:
- A round cutter works well for creating the Lorax’s face.
- If you have Lorax-shaped cutters, even better!
- Piping Bags and Tips:
- Use fine tips for detailing the eyes, eyebrows, and mustache.
- Larger tips are ideal for flooding the cookies with icing.
- Food-safe Paintbrushes:
- Perfect for adding fine details or smoothing out icing.
- Mixing Bowls and Electric Mixer:
- An electric mixer makes preparing the dough and royal icing much easier.
- Silicone Baking Mat or Parchment Paper:
- Prevents cookies from sticking to the baking sheet.
- Toothpicks or Edible Markers:
- Useful for precision work like outlining or fixing minor imperfections.
Tips for Choosing Ingredients and Tools
- Quality Matters: Choose high-quality butter and vanilla extract for the best flavor.
- Gel Food Coloring: Opt for gel-based coloring to achieve vibrant hues without altering the dough or icing consistency.
- Invest in Tools: High-quality piping bags and tips are worth the investment for better control during decoration.
Having all your ingredients and tools ready before you start ensures a smooth baking experience. With everything in place, you’re ready to move on to creating and decorating your lorax cookie!
To craft perfect Lorax cookies, you’ll need the right ingredients and tools. A blend of creativity and quality supplies ensures your cookies are as delicious as they are eye-catching. Don’t forget to browse this ultimate guide to perfecting recipes for tips on refining your techniques.
How to Make lorax cookie recipe
Making Lorax cookies involves a blend of baking skills and creative decorating techniques. By following these step-by-step instructions, you’ll transform simple sugar cookie dough into whimsical cookies inspired by Dr. Seuss’s beloved character. Let’s dive in!
Preparing the Dough
- Cream the Butter and Sugar:
In a large mixing bowl, beat the softened butter and granulated sugar until the mixture is light and fluffy. This step is crucial for creating the right texture in your cookies. - Add Wet Ingredients:
Mix in the eggs one at a time, ensuring they are fully incorporated. Add the vanilla extract for a hint of flavor. - Incorporate Dry Ingredients:
Gradually sift in the flour, mixing until a smooth dough forms. Avoid overmixing, as this can lead to tough cookies. - Add Food Coloring:
Divide the dough into portions and knead in orange food coloring to achieve the Lorax’s signature hue. Wrap the dough in plastic wrap and refrigerate for at least 30 minutes to firm up.
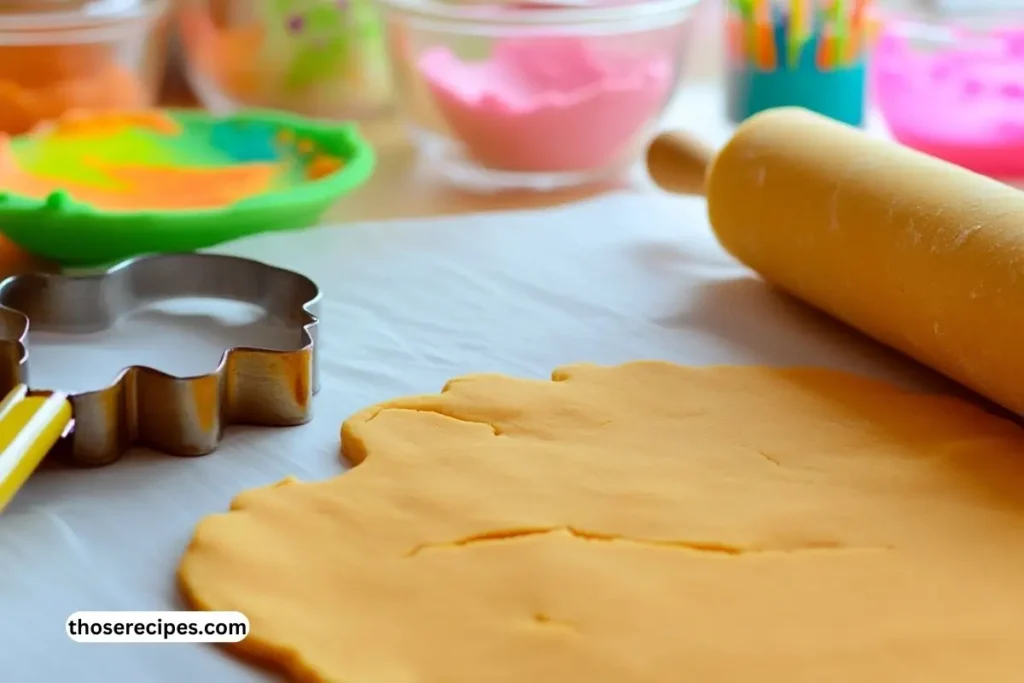
Cutting and Baking
- Prepare the Work Surface:
Lightly flour your work surface and roll out the chilled dough to about ¼-inch thickness. - Cut the Shapes:
Use round cookie cutters to create the base for the Lorax’s face. If you have Lorax-specific cutters, even better! Transfer the shapes to a baking sheet lined with parchment paper or a silicone mat. - Bake the Cookies:
Preheat the oven to 350°F (175°C) and bake the cookies for 8-10 minutes or until the edges are lightly golden. Allow them to cool completely on a wire rack before decorating.
Preparing the Royal Icing
- Mix the Icing:
In a mixing bowl, beat the powdered sugar, meringue powder, and water until the icing reaches stiff peaks. Divide the icing into separate bowls. - Add Colors:
Use gel food coloring to create orange, yellow, and black icing. Adjust the consistency by adding a few drops of water for flooding or keeping it thicker for outlining.
Decorating the lorax cookie recipe
- Base Layer:
Use the orange icing to flood the cookie’s surface, covering it completely. Allow this layer to dry for about an hour. - Add the Mustache:
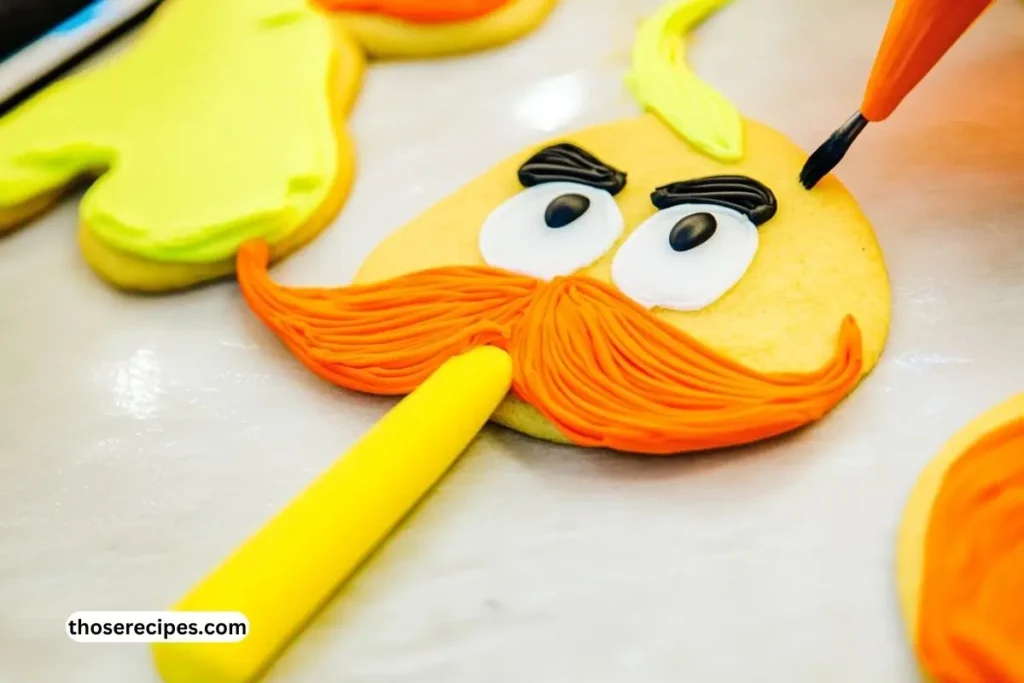
Pipe yellow icing to create the Lorax’s iconic mustache. Use a fine tip for precision and let it dry before proceeding. - Detail the Face:
With black icing, add eyes, eyebrows, and any other desired features. You can also use edible markers for finer details.
Tips for Success
- Plan Ahead: Work on one feature at a time to allow each layer to dry fully before adding the next.
- Use Toothpicks: For correcting small mistakes or smoothing out icing.
- Practice Makes Perfect: Test your piping skills on parchment paper before decorating the cookies.
By carefully following these steps, you’ll have beautiful, Lorax-inspired cookies that are as delightful to look at as they are to eat! Let the fun of decorating bring out your inner artist and celebrate the charm of Dr. Seuss’s Lorax.
Decorating Your lorax cookie recipe
The magic of lorax cookie recipe truly comes to life in the decorating stage. This is where you can channel your creativity and transform plain cookies into vibrant, whimsical treats that capture the charm of Dr. Seuss’s beloved character.
Creating the lorax Look
- Base Coat:
Start by flooding the entire cookie with the orange royal icing. Use a piping bag fitted with a medium-sized tip to outline the cookie first, then fill in the middle. Smooth out any air bubbles with a toothpick or scribe tool. Allow the base coat to dry for at least 30 minutes. - Adding the Mustache:
The Lorax’s iconic yellow mustache is the centerpiece of your design. Use yellow icing with a slightly thicker consistency for this step. Pipe two large, bushy ovals at the bottom center of the cookie to form the mustache. Add texture by swirling the icing with a toothpick while it’s still wet. - Detailing the Eyes and Eyebrows:
Use black icing to create two small circles for the eyes above the mustache. Add tiny white dots with white icing or edible paint for a gleaming effect. For the eyebrows, pipe two thick lines of orange icing above the eyes to mimic the Lorax’s expression. - Final Touches:
Use a food-safe paintbrush to blend any rough edges or add extra detailing. If you’d like to make the cookies sparkle, lightly dust them with edible glitter after the icing dries.
Tips for Perfect Decoration
- Drying Time: Allow each layer of icing to dry completely before adding the next to prevent smudging.
- Stabilizing Tools: Use cookie holders or stands to keep your designs steady as you decorate.
- Experiment: Add unique features, such as edible letters spelling out “Lorax,” to make your cookies even more personalized.
Decorating lorax cookie recipe is an opportunity to showcase your artistic skills while having fun. The result will be colorful, eye-catching cookies that celebrate the whimsical world of The Lorax and are perfect for any occasion!
Creative Variations
While the classic lorax cookie recipe is always a hit, adding your personal touch or experimenting with variations can make these cookies even more memorable. Whether you want to adapt the design or add new flavors, this section provides creative ideas to take your cookies to the next level.
Alternate Designs
- Lorax Cookie Pops:
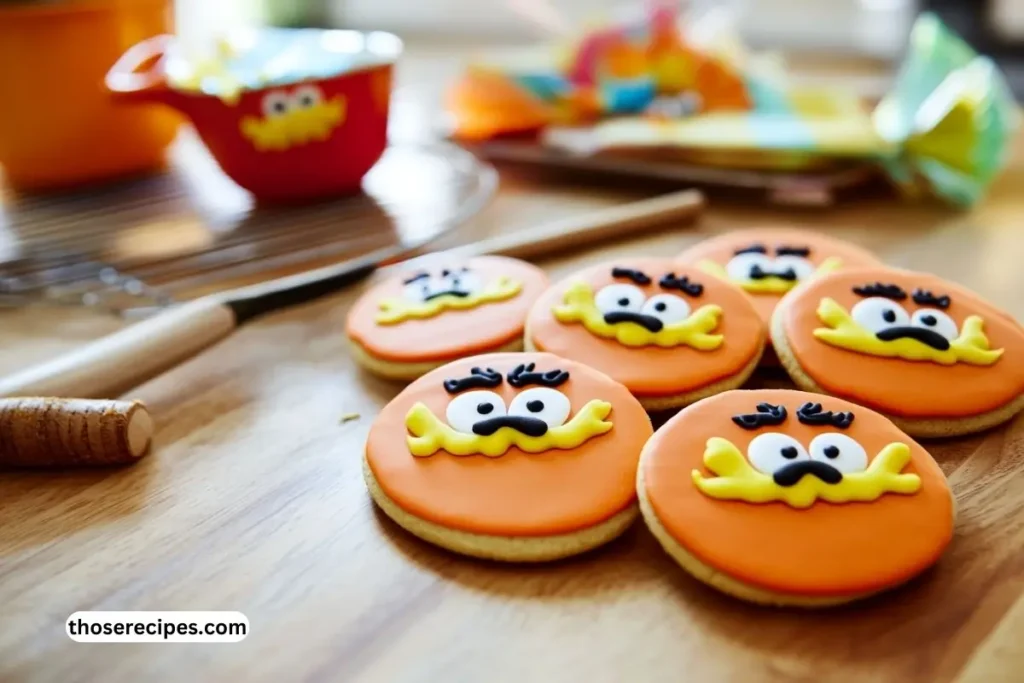
Turn your cookies into pops by inserting lollipop sticks before baking. Once decorated, these cookie pops make for fun and portable treats that are perfect for party favors or dessert displays. - Simplified Lorax Faces:
If detailed designs feel overwhelming, opt for a simplified version. Use a round cookie cutter and focus on creating the Lorax’s iconic mustache and eyes. Skip the intricate details for a faster and still-recognizable version. - Themed Cookie Sets:
Pair your Lorax cookies with other Dr. Seuss-inspired designs, such as Truffula trees or quotes from the book. This combination creates a themed set perfect for Earth Day or Seuss-themed events.
see an other recipe: Crock Pot Creamy Chicken Parmesan Soup
Flavor Twists
- Citrus-Infused Dough:
Add a tablespoon of orange or lemon zest to the cookie dough for a subtle citrus flavor that complements the Lorax’s orange color theme. - Chocolate Variation:
For a rich twist, incorporate cocoa powder into the dough and use white or yellow icing for the decorations. The chocolate base contrasts beautifully with the bright colors. - Spiced Cookies:
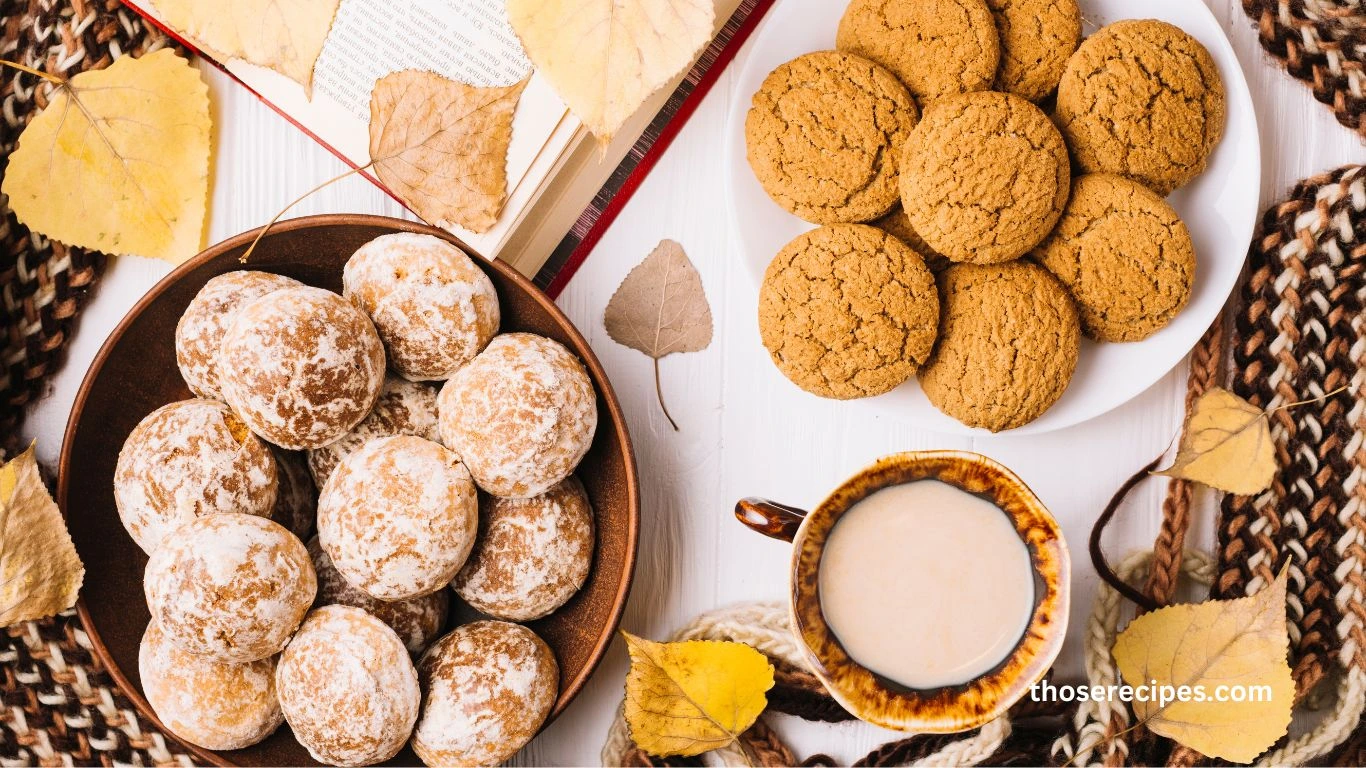
Mix in a teaspoon of cinnamon or nutmeg to give your cookies a warm, spiced flavor. This variation is perfect for fall-themed Lorax treats.
Presentation Ideas
- Gift Packaging: Place decorated Lorax cookies in clear cellophane bags tied with green or yellow ribbons. Add a tag with a Lorax quote for a thoughtful touch.
- Cookie Platters: Arrange Lorax cookies with complementary designs on a platter for an eye-catching display.
These creative variations not only add variety but also make your lorax cookie recipe stand out. Whether you’re changing the flavors or experimenting with designs, the possibilities are endless!
Lorax Cookie Recipe: Whimsical Cookies Inspired by Dr. Seuss
Equipment
- Toothpicks or edible markersA For fine details and precision when decorating.
- Silicone baking mat To prevent the cookies from sticking to the baking sheet.
- Electric mixer Makes mixing the dough and royal icing easier and more consistent.
- Mixing bowls For mixing the dough and royal icing.
- Piping bags For decorating the cookies with royal icing.
- Cookie cutters A round cookie cutter for basic shapes or a Lorax-shaped cutter if available.
- Rolling Pin To roll out the cookie dough to the desired thickness.
Ingredients
- 3 cups All-purpose flour Sifted for smoother dough.
- 1 cup Unsalted butter Softened to room temperature.
- 1 cup Granulated sugar Adds sweetness and structure.
- 1 tsp Vanilla extract For flavor enhancement.
- 2 large Eggs Room temperature for better mixing.
- As needed tbsp Orange food coloring To achieve the Lorax's bright orange body.
- As needed tbsp Yellow food coloring For creating the Lorax's signature mustache.
- As needed tbsp Black food coloring For detailing eyes and eyebrows.
- 4 cups Powdered sugar For making royal icing.
- 3 tbsp Meringue powder To help thicken the royal icing.
- 6 tbsp Water To adjust the consistency of royal icing.
Instructions
Prepare the dough:
- In a large mixing bowl, beat 1 cup of softened unsalted butter and 1 cup of granulated sugar until light and fluffy.
- Mix in 2 large room-temperature eggs, one at a time, and add 1 teaspoon of vanilla extract.
Add the dry ingredients:
- Gradually sift in 3 cups of all-purpose flour, mixing until the dough comes together.
- Be careful not to overmix, as this can make the cookies tough.
Color the dough:
- Divide the dough into portions.
- Add orange food coloring to one portion for the Lorax’s bright orange body, yellow food coloring to another portion for the mustache, and black food coloring to the final portion for detailing the eyes and eyebrows.
- Wrap the dough portions in plastic wrap and refrigerate for at least 30 minutes.
Roll out and cut the dough:
- Preheat the oven to 350°F (175°C).
- Lightly flour your work surface and roll out the chilled dough to about ¼-inch thickness.
- Use a round cookie cutter to cut out shapes for the Lorax’s face.
Bake the cookies:
- Transfer the cut-out dough onto a baking sheet lined with parchment paper or a silicone baking mat.
- Bake for 8-10 minutes, or until the edges are lightly golden.
- Let the cookies cool completely on a wire rack.
Prepare the royal icing:
- In a mixing bowl, beat 4 cups of powdered sugar, 3 tablespoons of meringue powder, and 6 tablespoons of water until the icing reaches stiff peaks.
- Divide the icing into separate bowls and color them with orange, yellow, and black gel food coloring.
Decorate the cookies:
- Flood the cooled cookies with orange royal icing to cover the surface.
- Use yellow icing to pipe the Lorax’s signature mustache and black icing to add eyes, eyebrows, and other details.
- Let each layer dry before adding the next.
Allow the cookies to dry:
- Allow the decorated cookies to dry completely for about 1 hour before serving or packaging.
Notes
-
Chilling the Dough:
Refrigerating the dough for at least 30 minutes helps it hold its shape while baking. If you have time, chilling it for an hour will give even better results. -
Food Coloring Tips:
Use gel food coloring instead of liquid to get vibrant orange, yellow, and black hues without altering the dough’s consistency. -
Icing Consistency:
- For flooding (covering the cookie surface), the royal icing should be thin enough to spread smoothly but not runny.
- For piping details like the mustache and eyebrows, the icing should be thicker so it holds its shape.
-
Making in Advance:
- Cookies can be baked 1-2 days ahead and stored in an airtight container at room temperature.
- Royal icing decorations need at least 1 hour to dry before stacking or packaging.
-
Storage:
- Store decorated cookies in an airtight container at room temperature for up to 5 days.
- Undecorated cookies can be frozen for up to 3 months.
-
Fun Variations:
- Add orange zest to the dough for a citrusy twist.
- Try using chocolate royal icing instead of black for the eyes and eyebrows.
Serving and Presentation
How you present and serve your lorax cookie recipe can make them even more enjoyable. A little creativity in display and pairing can elevate these treats from delicious snacks to memorable showstoppers at any event.
Serving Ideas
- Party Platters:
Arrange the cookies on a large, decorative platter surrounded by colorful accents, such as edible flowers, candy, or small cutouts of Truffula trees. This creates a visually appealing centerpiece for Dr. Seuss-themed events. - Individual Servings:
For a more personalized touch, place individual cookies in cupcake liners or small treat boxes. This not only makes them easy to distribute but also keeps them neat and presentable. - Interactive Cookie Stations:
Set up a decorating station where guests can personalize their own lorax cookie recipe. Provide pre-baked cookies, colored icing, and decorating tools for a hands-on experience that’s fun for kids and adults alike.
Pairing Suggestions
- Themed Drinks:
Serve your Lorax cookies with whimsical beverages like green punch (inspired by Truffula trees) or a creamy orange milkshake that matches the Lorax’s color. This creates a cohesive theme and enhances the festive atmosphere. - Complimentary Snacks:
Pair cookies with other Seuss-themed treats like cupcakes decorated with Truffula tree toppers or marshmallow pops shaped like the Once-ler’s hat. - Coffee or Tea Pairing:
For a more sophisticated setting, serve the cookies with coffee or herbal tea. Citrus-infused tea pairs especially well with the citrus flavor twist.
Packaging for Gifts
- Custom Gift Bags:
Use eco-friendly, biodegradable packaging to reflect the Lorax’s environmental message. Decorate bags with Lorax stickers or hand-drawn designs for a personalized touch. - Themed Gift Boxes:
Arrange cookies in small boxes lined with tissue paper in vibrant colors. Add a tag with a Lorax quote, such as “Speak for the trees,” for a meaningful touch.
Presentation adds an extra layer of charm to your cookies, making them a hit at events or as thoughtful gifts. By focusing on serving ideas and creative packaging, you can ensure your Lorax cookies leave a lasting impression!
The Inspiration Behind lorax cookie recipe
What is the Lorax?
Dr. Seuss’s The Lorax is much more than a beloved children’s book—it’s a heartfelt story with an enduring environmental message. Published in 1971, the book tells the tale of the Lorax, a small but mighty character who “speaks for the trees” and fights to protect the environment from unsustainable practices. With its vibrant illustrations and rhyming prose, The Lorax has captured the hearts of readers of all ages while inspiring conversations about sustainability and environmental stewardship.
The story’s themes have made it a popular choice for classroom activities, Earth Day events, and even themed parties. The lovable character and his memorable catchphrases, such as “Unless someone like you cares a whole awful lot, nothing is going to get better. It’s not,” make the Lorax a symbol of responsibility and care for the planet.
Why lorax cookie recipe?
Lorax-themed cookies are a delightful way to bring the story’s charm to life. Whether you’re hosting a Dr. Seuss-inspired birthday party or looking for a fun baking project, these cookies add a unique and whimsical touch to any event. Their bright orange hues, complete with the Lorax’s signature yellow mustache, make them instantly recognizable and a conversation starter.
But these cookies are more than just a fun treat—they’re a creative teaching tool. For parents and educators, baking lorax cookie recipe offers a hands-on way to engage children in discussions about the environment. By combining storytelling with baking, you can create an unforgettable experience that sparks both imagination and awareness.
lorax cookie recipe also offer flexibility for bakers. You can tailor them to suit various occasions, from casual family gatherings to themed celebrations. Whether you follow this recipe step by step or put your own twist
FAQs About lorax cookie recipe
Can I make lorax cookie recipe without a special cookie cutter?
Absolutely! While having a Lorax-shaped cutter adds convenience, you can achieve great results using a round cookie cutter. The key is to focus on the decorations to capture the Lorax’s unique features, like his orange body and yellow mustache. Freehand icing designs or stencils can help replicate the character’s face with ease.
How long do lorax cookie recipe stay fresh?
When stored properly, Lorax cookies can remain fresh for up to one week. Place them in an airtight container at room temperature, away from direct sunlight or heat. If you’ve decorated them with royal icing, ensure the icing has completely dried before stacking to prevent smudging.
Can I use store-bought dough or icing?
Yes, using store-bought sugar cookie dough or pre-made royal icing is a time-saving option. However, making your own dough and icing provides better control over the flavor, texture, and consistency. Homemade options also allow you to customize the colors and ingredients for a more personal touch.
How can I involve kids in decorating lorax cookie recipe?
lorax cookie recipe is a fantastic baking project for kids! Set up a decorating station with pre-baked cookies, colored icing, and fun tools like edible markers or sprinkles. Encourage children to add their own creative spin to the cookies. Simplify the designs by focusing on easy-to-create features like the mustache and eyes.
Can I freeze Lorax cookies?
Yes, you can freeze both the undecorated cookies and the dough for later use. Wrap the baked cookies tightly in plastic wrap and store them in an airtight container. If freezing the dough, divide it into portions, wrap in plastic, and place it in a freezer bag. Thaw before baking or decorating.
Conclusion
Celebrate Creativity with lorax cookie recipe
Baking and decorating Lorax cookies is more than just a fun kitchen project—it’s a creative experience that combines storytelling, artistry, and delicious flavors. Inspired by Dr. Seuss’s timeless tale, these cookies serve as a delightful way to celebrate the message of The Lorax while indulging in a treat that’s sure to bring smiles to everyone’s faces. For another take on this fun treat, check out this Lorax Cookie Recipe, which offers a step-by-step guide to making these colorful cookies perfect for themed parties and Earth Day celebrations.
Share the Joy
The best part of creating Lorax cookies is sharing them with others. Their whimsical design makes them a hit with kids, while their thoughtful theme resonates with adults. Pack them up as gifts, serve them at events, or simply enjoy them at home with family and friends.
Your Turn to Speak for the Cookies
Now that you have a comprehensive guide to making lorax cookie recipe, it’s time to roll up your sleeves and start baking. Let your imagination run wild and have fun in the kitchen! Don’t forget to share your creations and inspire others to “speak for the cookies” in the spirit of the Lorax.

1 thought on “Lorax Cookie Recipe: Whimsical Cookies Inspired by Dr. Seuss”